The ORIGINAL Nikon
10.5mm Fisheye modification for FX (Full frame sensor)
UPDATE July 10, 2013: Way back in 2007 Nikon announced their first full frame DSLR. I was extremely excited, so much so that I didn't even go to bed the evening of the announcement in order to stay up, read the news and then put one on order immediately as soon as Don's (my main camera story) opened at 8:30am that morning.
I was also really curious to see what my APC-C (crop) fisheye lens would look like on my upcoming full frame body and that's where this article came in.
Over the last six years this article has been one of my most popular on my site, getting hits from all over the world, being translated into multiple languages and linked by dozens of sites. I get emails and even the occasional phone call from far away countries about this article, asking how to make sure not to harm the lens and how best to cut it etc.
I'm extremely proud to have originated this lens modification. I just hope Nikon doesn't mind. ;)
Original article written November 2007:
A little history: The Nikon 10.5mm DX fisheye provides
about a 140 horizontal degree angle of view on an APS-C sensor
(1.5 crop factor). On an FX (full frame) body if you use it
in full frame mode you
can
see the
protective fins ( built in lens hood) that come off the top
and sides of the front of the lens which are used to protect
the lens and to hold the lens
cap
on. Here
is an
example
photo:
Before:
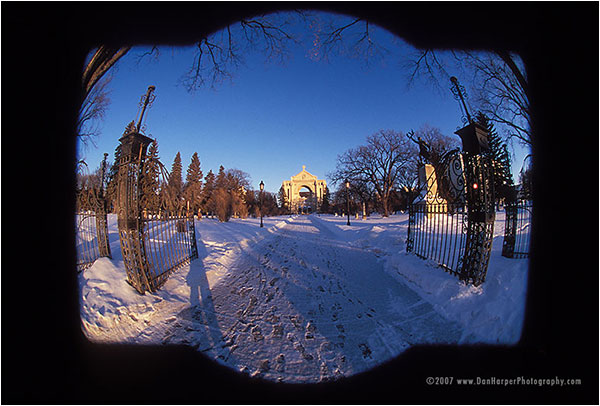
Obviously this isn't really the look you want from a
fisheye so I set out to modify the lens in order to produce
wider images.
First: I needed a small fine
tooth (20-30TPI) hack saw that I picked up at Canadian Tire
for $15.
I then marked off where I wanted to cut the lens with electrical
tape in order to keep a straight cut all the way around:
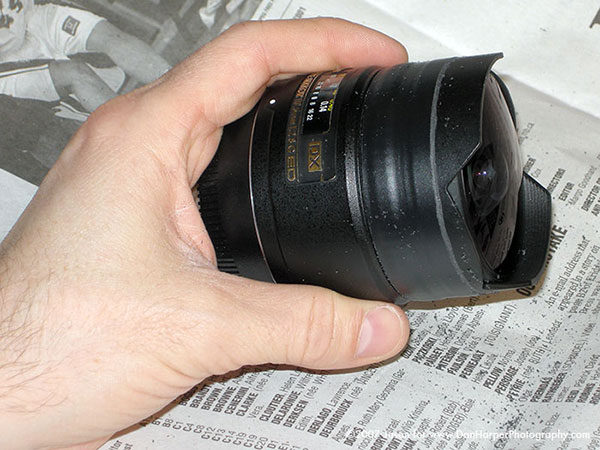
Then I cut all the way around in even increments so that the
whole thing came off at the same time.
Cutting:
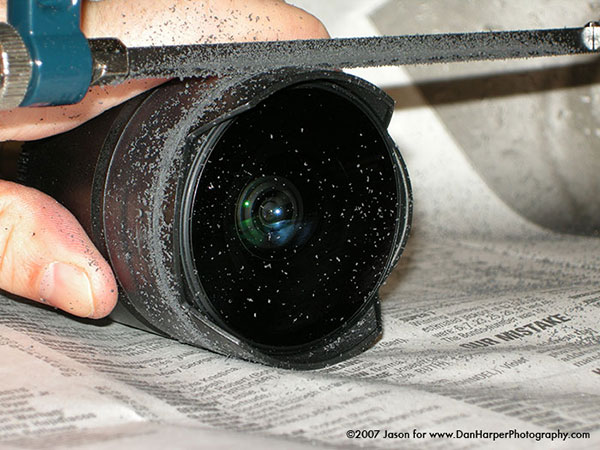
When you get close to being through the plastic if you've
got a good feel for it, you can tell that you've cut through it just
like cutting negative mark up plates for presses.
Taking off the fins:
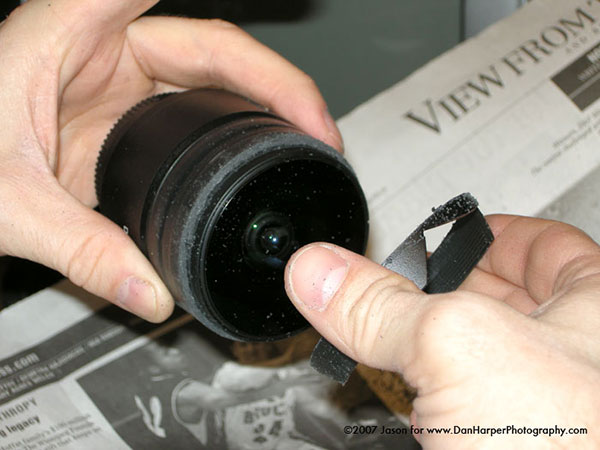
The lens after:
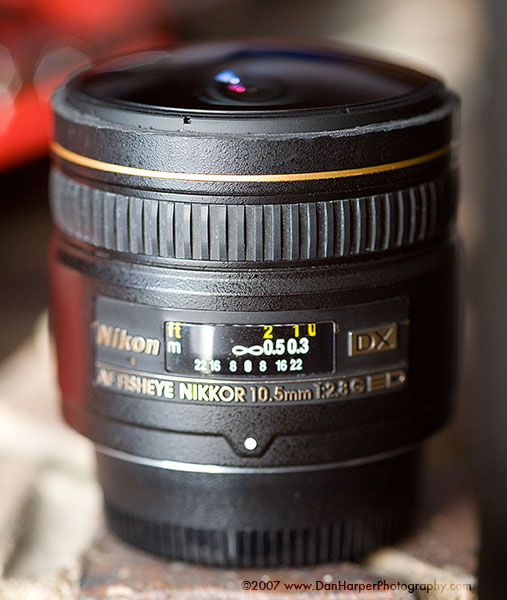
For anyone attempting this (and I take NO responsibility) cut
closer to the lens element so that the dust protection is still
covered up. Note that you can see a
gap from the top of the cut to the bottom of the lens element.
Lens hood: (added July 2013)
One of the questions I get the most about this modification is how to modify the lens hood to make sure it doesn't rub against the front lens element. All I did was take a small piece of lens cloth and adhere it to the centre of the inside of the lens hood. An extra precaution is to always keep the lens focused to infinity as this is where it is most compact and the front lens element is closer to the rest of the lens.
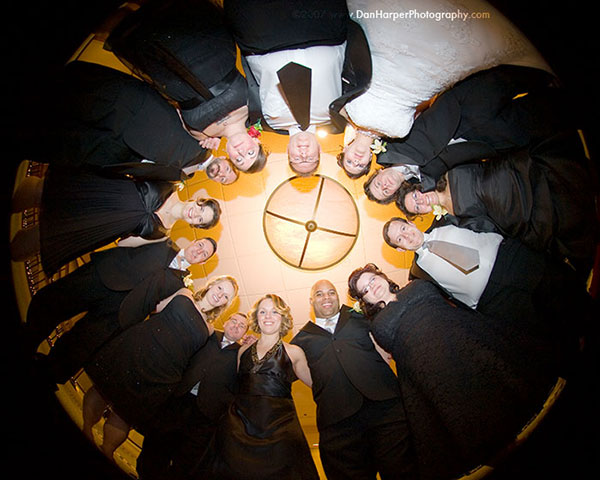
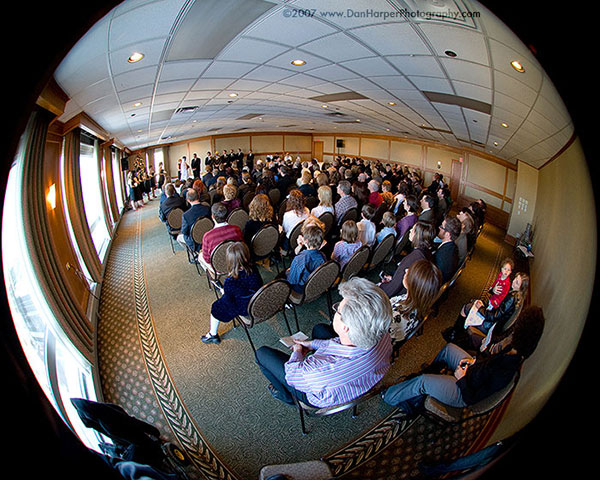
Photos after:
A perfect fit! (In FX 8x10 format)
Compare
the above "Before" image to the after ones.
The angle of view is now wider than an 8mm sigma on an APS-C camera.
What's gained:
Here, the extra area provided by cutting off
the fins is illustrated with the red outline for comparison.
Everything
outside
the red
line is what is gained by cutting off the lens hood.

|

